
What Is A Bio-Data Page In A Passport? Explained
As participants in Amazon Associates and other programs, we earn from qualifying purchases. This comes at no additional cost to you. For more details, see our Affiliate Disclosure.
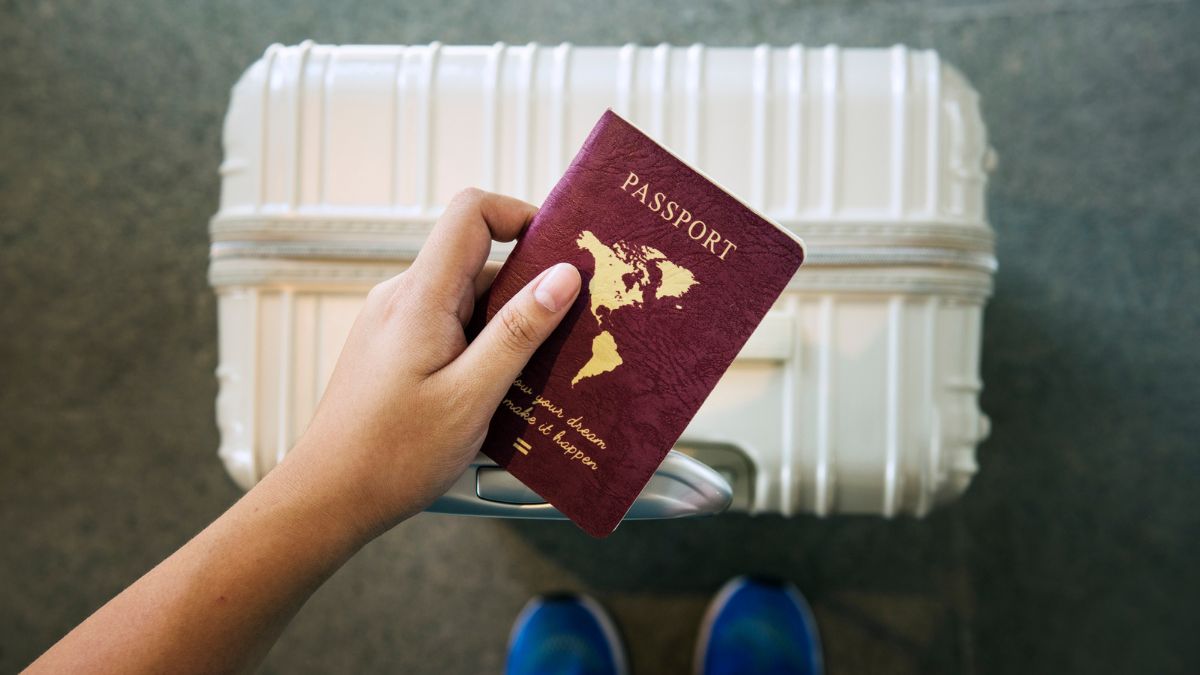
A bio data page in a passport serves as the primary identification source for any international traveler. This specific page contains the essential personal information and the official portrait of the document holder in a format that is universally recognized. It is often located at the beginning or the end of the booklet depending on the specific design choices of the issuing country.
It acts as the foundation for global mobility by providing a standardized format that border authorities can easily recognize and process. These pages are designed to withstand years of travel while maintaining the legibility of the printed information. Understanding the components of this document helps travelers appreciate the complex technology behind modern identification systems used at every major airport.
Understanding the Layout of the Machine Readable Zone
The bottom portion of the identification page usually contains several lines of text known as the machine readable zone. These characters are formatted in a specific font and sequence that allows high speed optical scanners to extract data instantly during the check in process. This area is carefully structured to ensure that any machine in the world can interpret the data without human intervention.
This zone typically includes the full name of the individual along with the document number and the expiration date for easy tracking. By using a uniform structure for these details, the system ensures that different countries can process foreign travelers without manual data entry errors. The precision of this text is vital because even a small smudge or scratch can prevent a scanner from reading the information correctly.
Technological advances have made this area critical for reducing wait times at international terminals and boarding gates. The standardized format allows computers to verify the authenticity of the travel document by cross referencing the printed text with the encoded strings located on the same page. This dual layer of information provides a high level of confidence for officials during the screening process.
Travelers will notice that this section contains many chevron symbols which act as placeholders for empty spaces between the data fields. These characters allow the scanning equipment to maintain a precise count of the characters as it reads the information from left to right. This ensures that the computer knows exactly where the surname ends and the given names begin according to international standards.
Enhancing Security Through Biometric Data Storage
Modern identification documents now incorporate advanced methods of biometric data storage to prevent identity theft and forgery. This technology often involves a small contactless chip embedded within the physical structure of the bio data page or the back cover. This chip contains a digital representation of the traveler which is verified against the physical person standing at the border.
The digital chip holds an electronic copy of the information found on the paper surface including a high resolution version of the photograph. This redundancy ensures that any unauthorized alterations to the physical document will be caught during a digital scan at the immigration desk. If the physical photo does not match the digital file, the document is immediately flagged for further investigation.
Biometric indicators such as facial geometry or fingerprint patterns are often encrypted within these electronic components to provide an extra layer of defense. This layer of protection makes it nearly impossible for a fraudulent actor to assume the identity of the original holder through simple physical changes. The encryption keys are managed by the issuing government to ensure that only authorized readers can access the sensitive information.
The integration of these digital elements has revolutionized the way security personnel interact with passengers at busy ports of entry. It provides a seamless transition from physical inspection to digital authentication which enhances the overall integrity of the global travel network. This technology allows for much higher levels of certainty when confirming that a traveler is exactly who they claim to be.
Analyzing Advanced Passport Security Features
To combat the rise of counterfeit documents, engineers have developed sophisticated passport security features that are visible under various lighting conditions. These include intricate watermarks and holographic overlays that shimmer and change color when the page is held at specific angles. These visual markers are designed to be extremely difficult for criminals to reproduce using standard printing equipment.
Many nations have transitioned to using polycarbonate materials for the identification page because they are extremely durable and resistant to heat or chemicals. This plastic like material allows for laser engraving, which embeds the personal details and the primary photo deep within the layers of the card. Because the data is fused into the material, it cannot be scraped off or altered without destroying the page itself.
The use of ultraviolet reactive inks provides another layer of defense that is only visible under special lighting used by border agents. These hidden patterns often depict national symbols or complex geometric designs that are printed with specialized machinery. This feature allows for a quick secondary verification step that can be performed without any expensive digital equipment or database access.
Tactile elements such as raised printing or ghost images add further complexity to the design of the identification page. These physical textures allow officers to perform quick manual checks using their sense of touch to ensure the document is genuine. The combination of these physical and digital defenses makes the modern travel document one of the most secure items in the world.
Streamlining Travel with Identity Verification Protocols
Global aviation relies on standardized identity verification protocols to maintain safety across international borders and prevent illegal crossings. These procedures involve comparing the data on the identification page against various law enforcement databases in real time to look for inconsistencies. This automated check is the first line of defense in protecting the national security of the destination country.
When a passenger approaches an automated gate, the system reads the digital information and performs a series of mathematical checks to verify the electronic signature. This process happens in a matter of seconds, which significantly improves the flow of people through large transportation hubs like airports. This automation reduces the workload on human officers and allows them to focus on high risk individuals who require more attention.
The collaborative nature of these protocols ensures that information is shared between governments to prevent the movement of known criminals or lost documents. This interconnected system depends entirely on the accuracy and reliability of the data stored on each individual identification page. By following these international rules, countries can trust the validity of documents issued by other nations around the world.
As technology continues to evolve, these verification methods will become even more precise and efficient through the use of artificial intelligence. The ongoing refinement of these systems ensures that the bio data page remains a trusted tool for establishing legal identity in an increasingly digital world. These protocols are the silent engine that keeps the global travel industry moving safely and efficiently every single day.